This is an old revision of the document!
K45
How do I install the I.C.E. heatpipe cooling in a K45 and K48?
In order to install an I.C.E cooling the K45's or K48's motherboard must be removed.
Please see the step-by-step graphical illustrations:
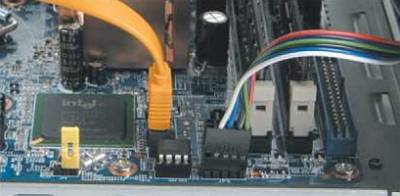
- Unplug the ATX 1 and 2 power connector from the motherboard.
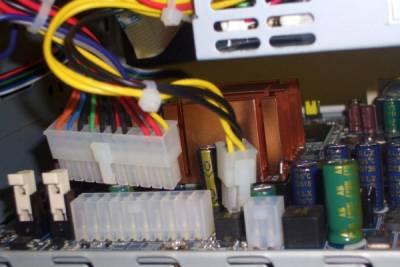
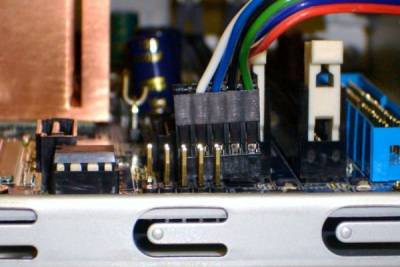
- Unplug the Front Panel internal USB cable from the motherboard.
- Unfasten three screws from the back of the K45 to take the power supply unit out of the chassis.
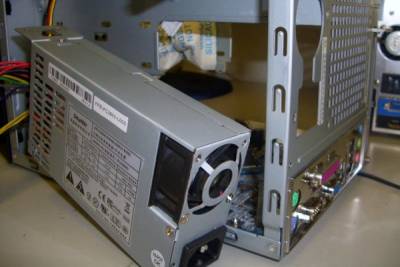
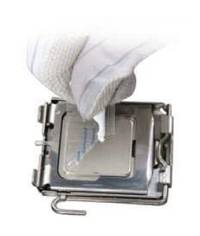
- Once the power supply unit is removed, please unfasten another six screws from the motherboard and remove the motherboard.
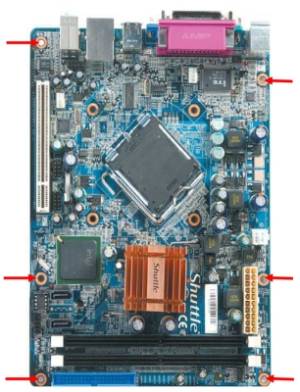
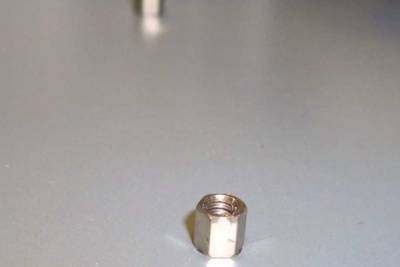
- Fasten all 4 screw standoffs on the platform.
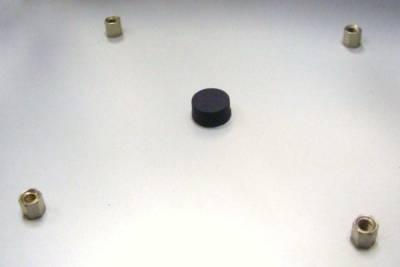
- Make sure each standoff is properly screwed in place.
- Re-install the motherboard and make sure the standoffs underneath line with the screw holes on motherboard.
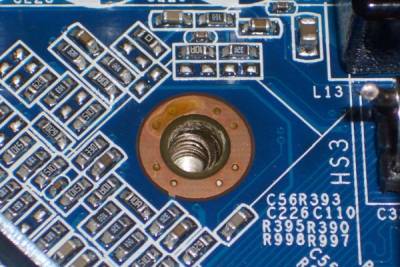
- Apply thermal compound on atop the processor.
- Install the I.C.E. cooling, re-fasten all four spring screws and plug the fan connector into FAN1 on the motherboard.

- Re-connect the ATX 1 & 2 power connectors as well as the Front Panel USB cable and SATA cable.
What kind of CPU can K45 support?
K45 only support processor under TDP 65W, please go to Shuttle website checking support list and Intel website information.