D230
Which apps are available and required?
D230 Mobile this is the universal tool for initial setup and content management for the D230 “stand-alone” model. Get the app here: Google Play or App Store
| https://go.shuttle.eu/uwv5f | https://go.shuttle.eu/chwfm |
D230 Tool This one is required for setting up a D230 to be connected to a server (requires a different firmware). Get the app here: Google Play or App Store
| https://go.shuttle.eu/53p-h | https://go.shuttle.eu/j30zw |
What is the ideal content resolution?
Make sure images and videos have these dimensions for borderless playback.
| Landscape | Aspect ratio | Right 90° / Left 90° | Aspect ratio | |
|---|---|---|---|---|
| Full screen/1 segment | 1920 × 158 px | 960:79 | 158 × 1920 px | 79:960 |
| 2 segments | 960 × 158 px | 480:79 | 158 × 960 px | 79:480 |
| 3 segments | 640 × 158 px | 320:79 | 158 × 640 px | 79:320 |
| 4 segments | 480 × 158 px | 240:79 | 158 × 480 px | 79:240 |
Horizontal
Vertical
How do I resize images and videos to make them run smoothly on the D230?
There are no enhanced graphic or video editing skills required to create content for the D230. Here are a few tips:
PC
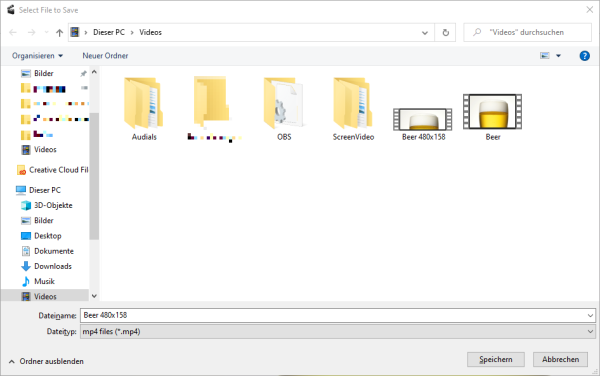
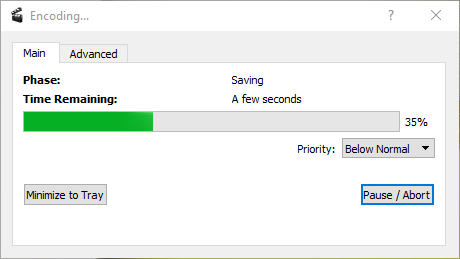
For image and video editing, the PC is a reliable platform for which many free and commercial software packages and tools are available. Our choice for images and photos is XnView and for videos we have opted for Avidemux.
Other programs for photo and video editing include:
- Image manipulation
- Video editing
Images
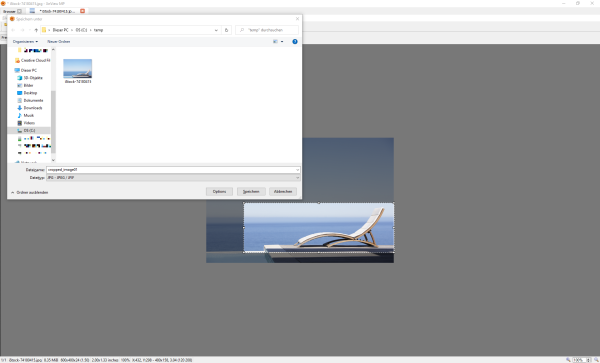
- Please install and start XnView.
- Open the image file you want to edit.
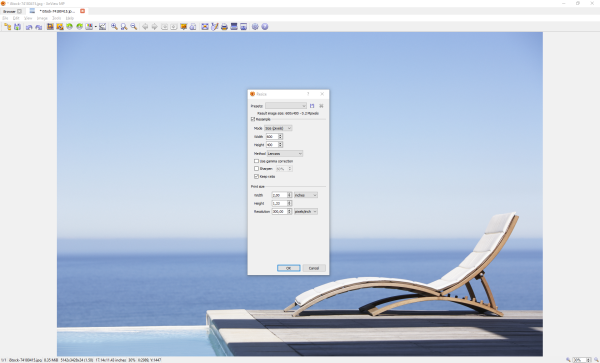
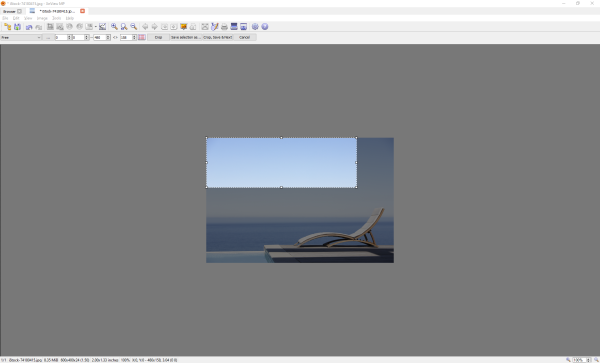
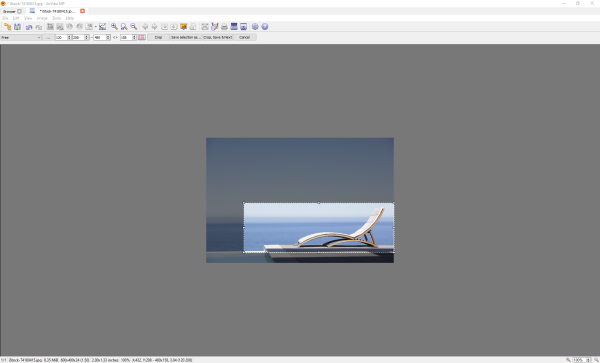
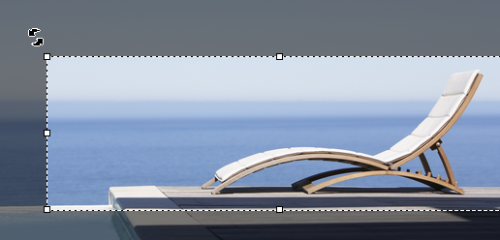
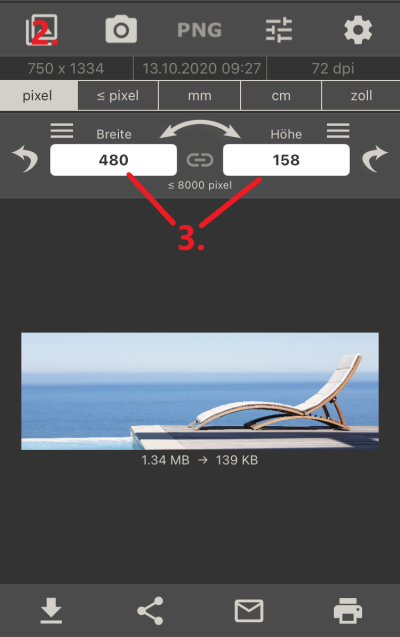
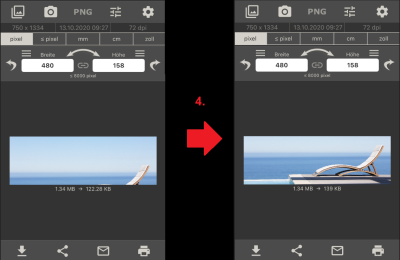
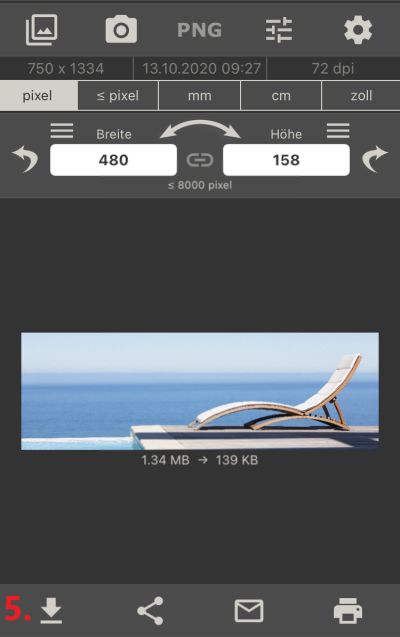
- Depending on the motif, you will need to resize, crop or even both.
Cropping means, you are removing a part of the image, with resizing, you are keeping the whole image intact while just making it smaller. - In this example we need to reduce the size of a very large photo first by opening the resize menu by pressing
Shift + s.
Videos
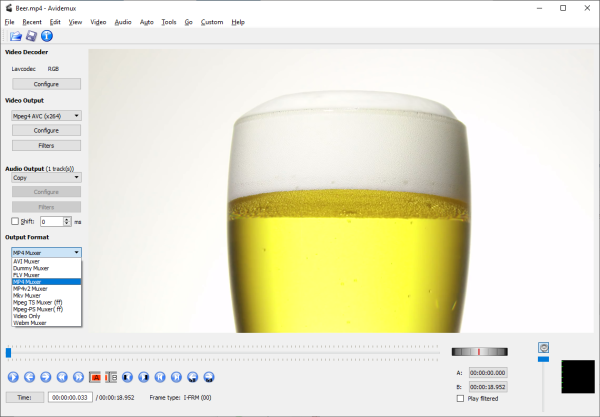
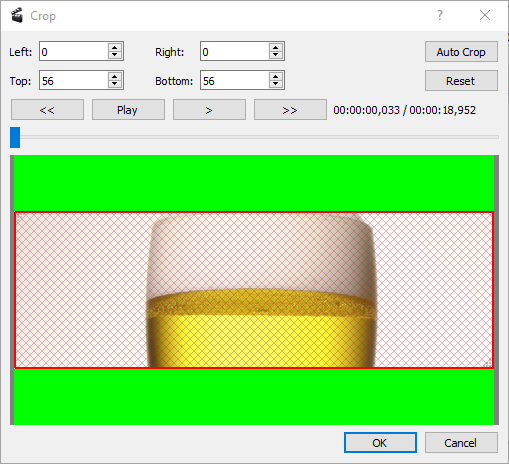
For these instructions, we are using a standard video file in 1920×1080 as an example. Our D230 template is subdivided into 4 segments.
- Please install and start Avidemux.
- Open the video file you want to edit.
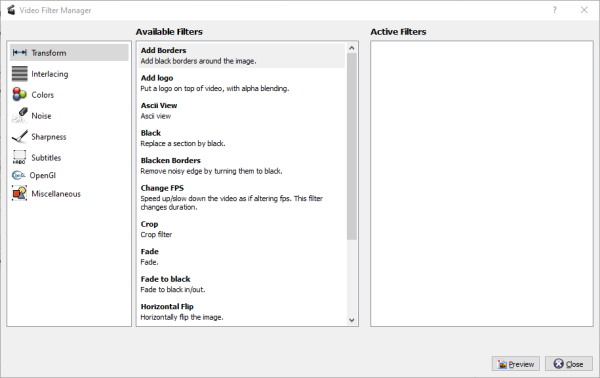
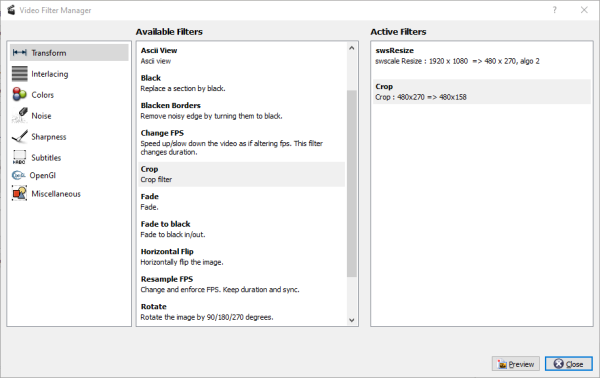
- Click on Filters (below Video Output).
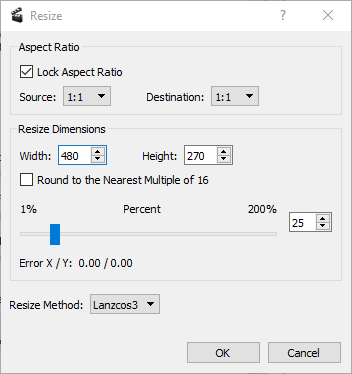
- Change both Source and Destination to
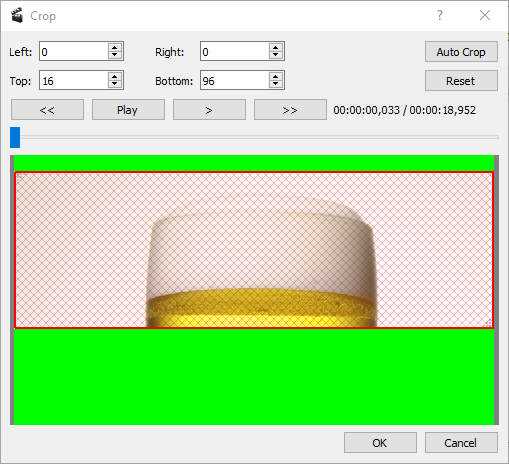
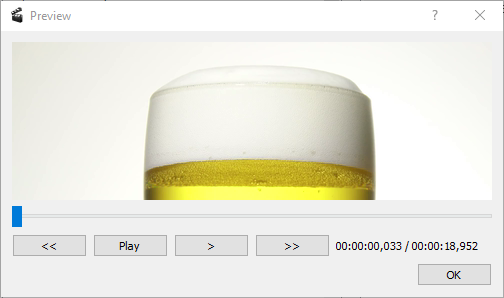
1:1. - Double-click on Crop from the Available Filters column.
Android phone or tablet
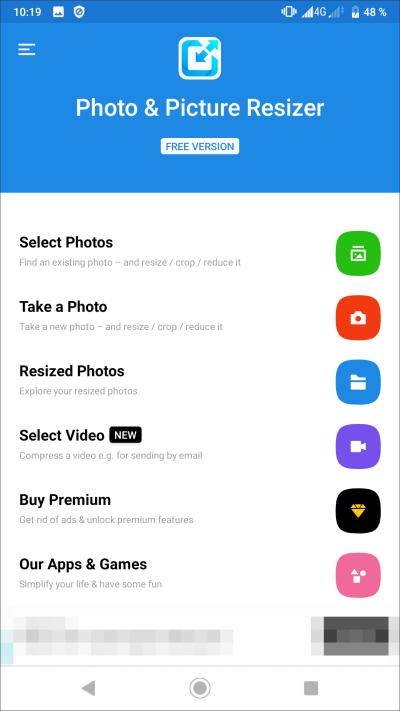
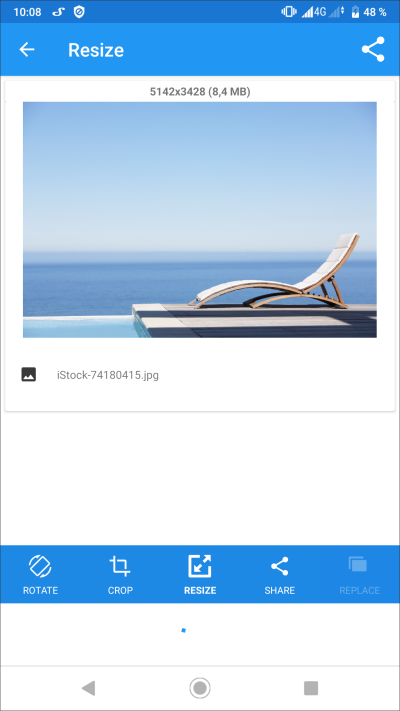
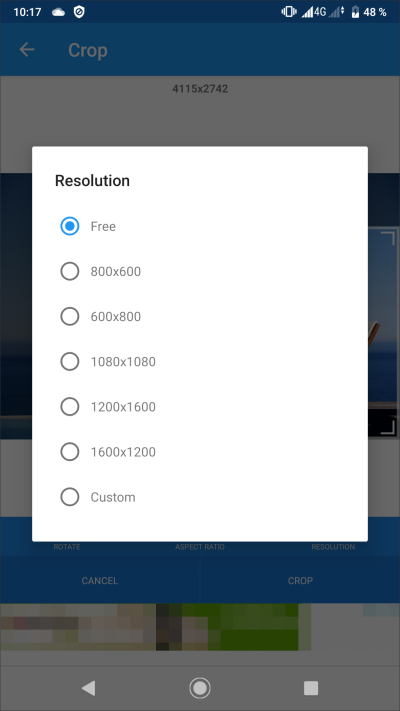
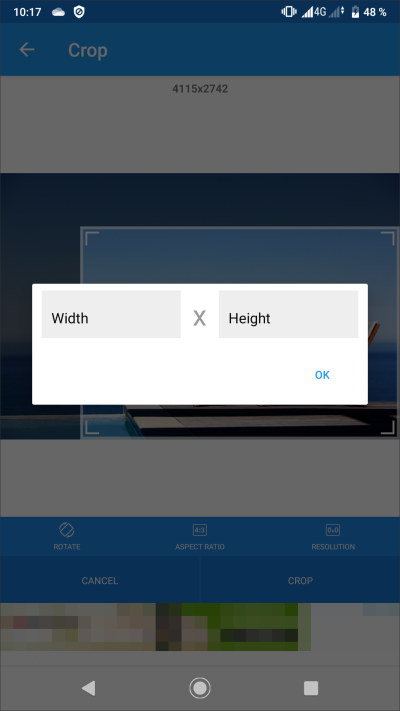
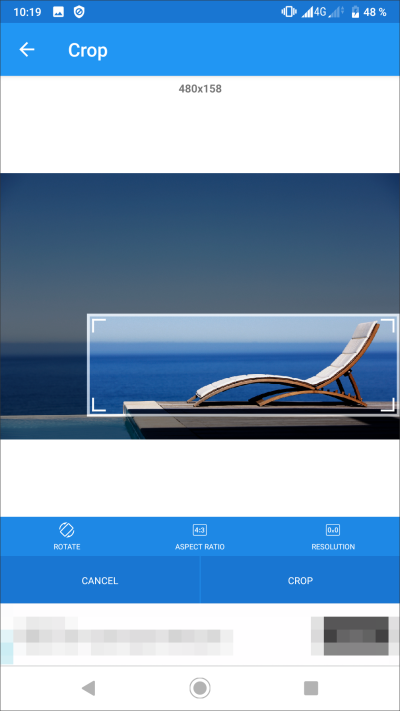
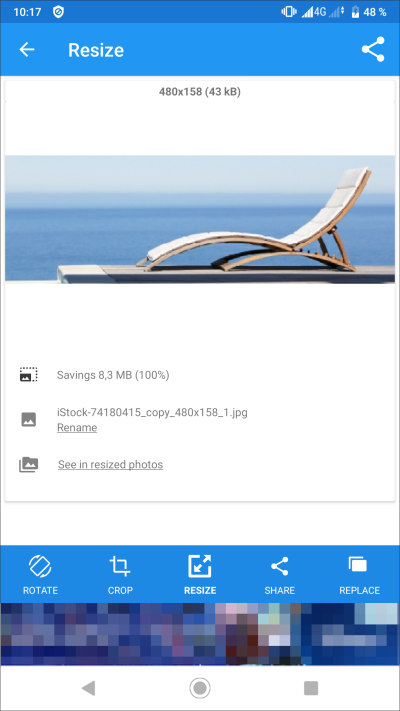
With the biggest market share, powerful Android-based mobile devices can be used for image and video editing as well. There are many free and commercial apps and tools available. Our choice for images and photos is Picture and Photo Resizer and for videos, we have opted for TBA.
Images
- Select and open the image file you want to edit.
- Select Crop
Videos
TBA
iOS device
Images
Apple's iOS is a widely used mobile platform for which many free and paid apps are available. Our recommendation to deal with images and photos is this app: Image Size
- Please install and open the app on your device.
- Open the image file you want to edit.
Videos
TBA
By how many pixels must videos be cropped?
To make videos match the D230's vertical resolution of 158 pixels, you need to create your content in exactly the following formats. Otherwise you need to resize and crop existing media accordingly. If you intend to display content in vertical alignment, you will have to flip width and height.
| Original aspect ratio | Targeted # of segments | Height after resizing to correct width | To be cropped from top and bottom |
|---|---|---|---|
| 16:9 | 4 | 480 × 270 px | 112 px (56 px + 56 px) |
| 3 | 640 × 360 px | 202 px (101 px + 101 px) | |
| 2 | 960 × 540 px | 382 px (191 px + 191 px) | |
| 1 | 1920 × 1080 px | 922 px (461 px + 461 px) | |
| 4:3 | 4 | 480 × 360 px | 202 px (101 px + 101 px) |
| 3 | 640 × 480 px | 322 px (161 px + 161 px) | |
| 2 | 960 × 720 px | 562 px (281 px + 281 px) | |
| 1 | 1920 × 1440 px | 1282 px (641 px + 641 px) |
Which permissions does the D230 app for Android and iOS require?
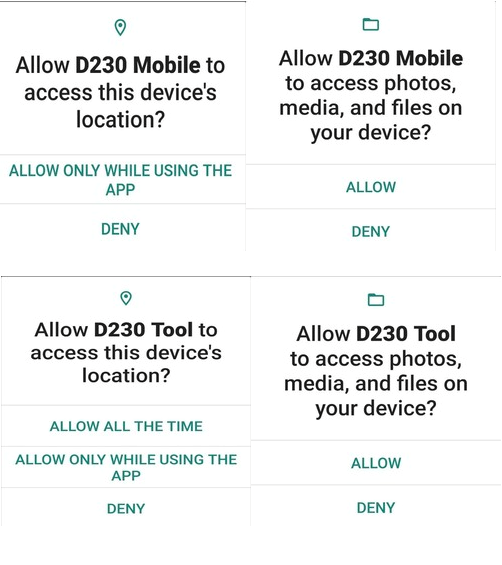
Please refer to the below table which lists the D230 app's permission requirements.
| OS | App | Location | Storage |
|---|---|---|---|
| Android | D230 Mobile | ✔ | Photos, Media and Files |
| D230 Tool | ✔ | Photos, Media and Files | |
| iOS | D230 Mobile | ✔ | Photos |
| D230 Tool | ✔ | ✘ |
Android
- Both the D230 mobile and tool app will ask for permission to access “Location” and “Photos, Media and Files” when the apps are installed and run for the first time. Please grant permission.
iOS
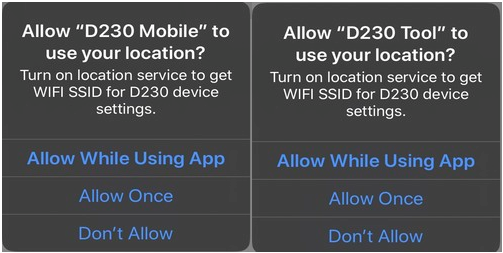
- Both the D230 mobile and tool app will ask for permission to access “Location” when the apps are installed and run for the first time. Please grant permission.
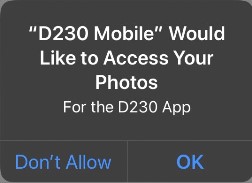
- When the D230 mobile app is used to create a project using photo and video files, the D230 mobile app will ask for permission to access “Photos”. Please grant permission.
How do I change the default logo?
- Save the logo file on the SD card (resolution of image file must be 1920 × 158 px).
- Insert the SD card into the slot on the D230.
- The D230 automatically saves the logo image file in the default folder on the SD card.
- Please reboot the D230 to read and load the new logo and to complete the replacement process.

jpg or png. The file name is set as follows: Landscape: d230_logo_l Portrait: d230_logo_p
How do I activate root on the D230 ?
An Android image with root privileges is available on request. Please contact our Support-Team for more information.
