SD36G5
POST issue on Shuttle G5 models - check setting of jumper JP4.
- Most of the time when your system won't post it is because the J4 jumper pins are loose and losing connection to the motherboard. This means, when you turn on your computer it won't show anything on the screen, known as the No-Post issue.
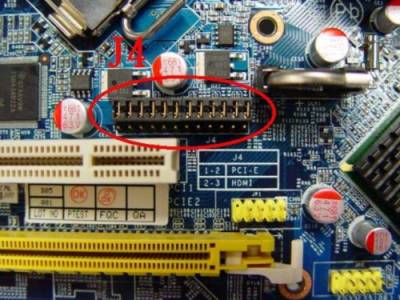
- To fix this, please unplug the power cord first, then open the case and remove jumper J4 from the motherboard and put it back in place upside down.
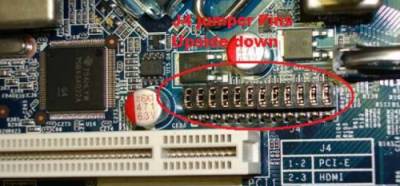
- Now please restart the computer and the BIOS screen should appear.
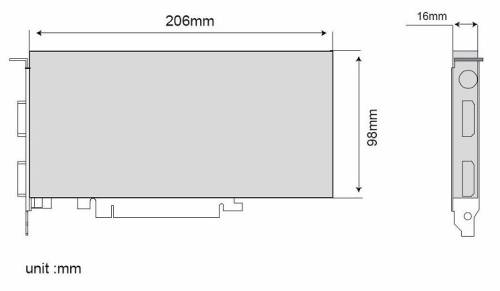
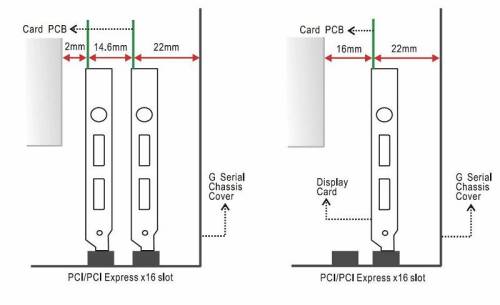
G-Series
The maximum size of a card that fits in the G-Series is 206 mm (L) × 98 mm (H) × 16 mm (D). But due to the different layout designs of each model and VGA card, we strongly suggest to check our VGA support list for each model or test before purchasing the VGA card.
How do I enable Viiv technology on my SD36G5?
The Viiv Technology requirements are as follows:
- Process: Pentium D processor
- Chipset: Intel 945G + ICH7DH
- LAN Chip: Intel PRO Client LAN
- Audio: High Definition Audio
- Hard drive: SATA interface with NCQ support
- Operating system: Microsoft Windows XP Media Center Edition Rollup 2.
If you have a PCI-E graphics card installed, please be sure to have the relevant video driver for the MCE version installed as well.
First of all, please update the BIOS version to the latest version and Load Optimized Default once the BIOS update is complete.
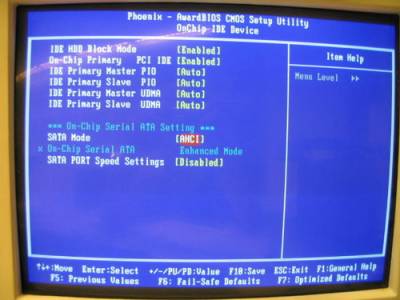
- Enter BIOS, and go to →
Integrated Peripherals→OnChip IDE Device. Here, changeSATA ModetoAHCI.
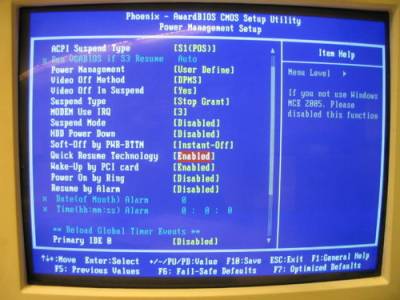
- Enable
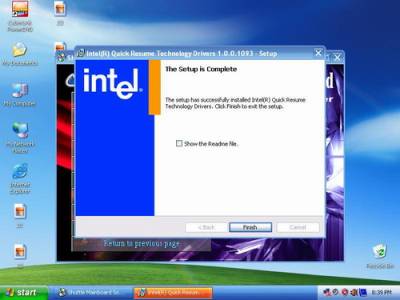
Quick Resume Technologyin the Power Management Setup.
- Before you begin installing MCE, you need a floppy disk drive and to prepare a floppy disk with the 32-bit ICH7R RAID disk driver that comes with the accessory box. You may otherwise download it from our website or take it from the driver CD. Proceed with
D:\Intel\F6 install\F6flpy32.exeand answer all prompts presented (Assuming your CD-ROM drives label is D.) - Now begin to install Windows MCE.
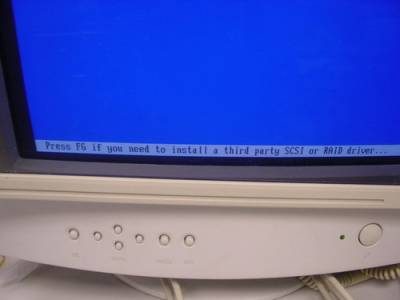
- Press the
F6function key when the RAID setup message screen comes up.
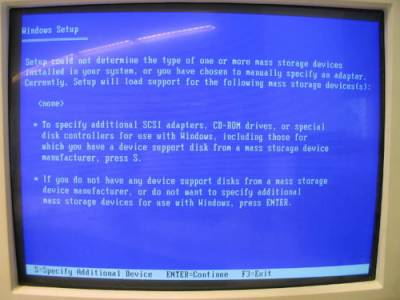
- Press the
Skey to select the AHCI driver.
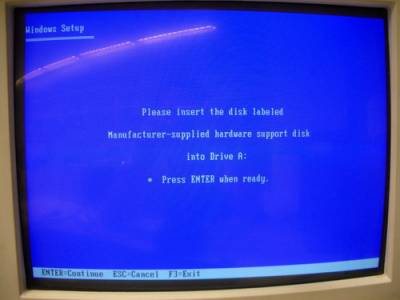
- Insert the floppy disk you prepared with the driver into the floppy drive.
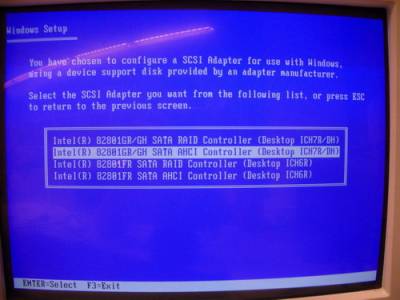
- Select the driver of the relevant chipset type: “82801GR/GH SATA AHCI Controller (Desktop ICH7R/DH)”
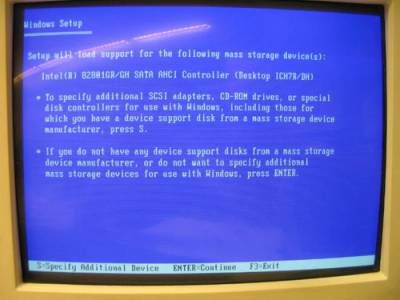
- When the driver is selected, press Enter to continue the Windows MCE installation.
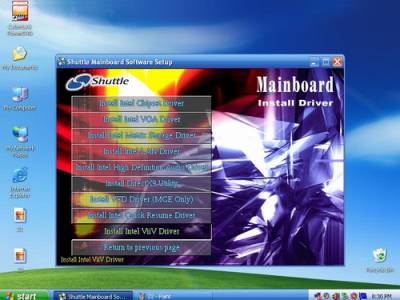
- Now please install all the drivers from the driver CD, which also include the Quick Resume driver, for Windows MCE.
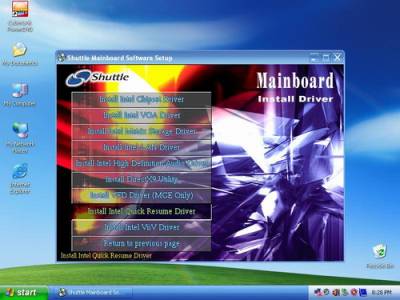
- Please install the Viiv driver.
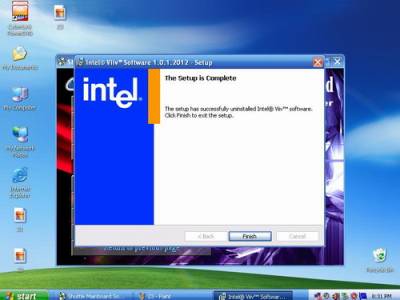
- When all the drivers are installed, please restart the system.