SS31T
Why my system is unstable?
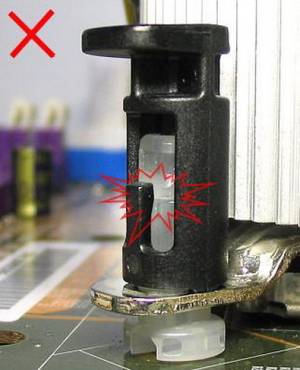
Please ensure that the four black tenon in the CPU fastener are firmly connected to the clear tenon at the bottom. (see area circled in red). If the connection is loose (see area marked with “x”), this will lead to a poor connection between the CPU fan and the CPU.

How do I install the OS on a SATA with RAID hard drive on the SS31T?
To begin, installation of SATA with RAID hard drives on the SS31T requires a floppy drive (or USB floppy drive) and floppy disk with the correct RAID driver.
Before you start the installation you need to do the following (This procedure will need to be done on another system):
- Insert the motherboard driver CD into your CD-ROM.
- Copy all files in RAID directory
D:\RAID\FloppyImage\966\1184to a floppy disk. (Current CD driver is in Drive D) or download from here - Use the floppy disk in the installation procedure as follows.
- Go into the BIOS setup utility and enable RAID function
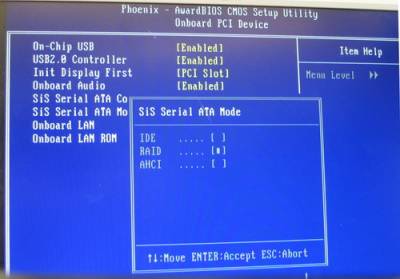
- Select
RAID - Windows installation
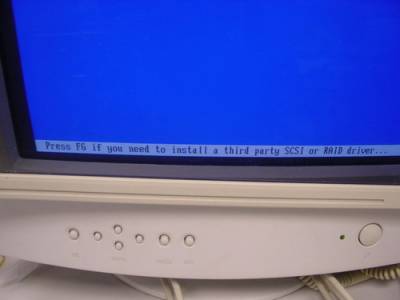
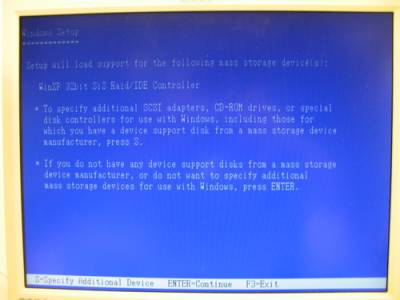
- Press
F6function key when the RAID setup message string come up.
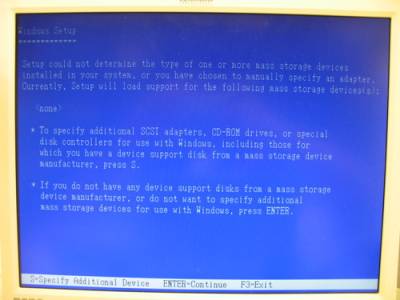
- Press
Skey to select driver
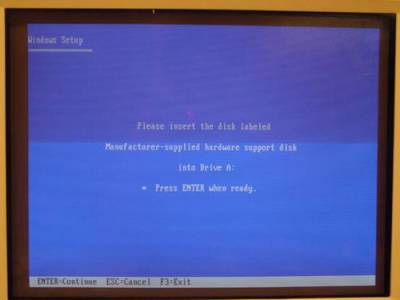
- Insert the floppy disk into the floppy.

- Select the driver for your operating system.