This is an old revision of the document!
XS36V4
Where can I find drivers for other operating systems beside Windows 7 32-bit?
Because of specification limitation, this model now has only support for Windows 7 32-bit.
XS35V5 Pro
How to create a bootable Windows 7 USB flash drive and integrate the USB 3.0 drivers.
Platforms with Intel Braswell-SoC or Series-100 chipsets are missing the EHCI-mode (USB 2.0). These systems are working in modern XHCI-mode (USB 3.0) only. Unfortunately, Windows does not support XHCI out of the box. This leads to a missing keyboard/mouse function during installation. The following FAQ will guide you to integrate the correct drivers in your Windows 7 installation.
First you need the following files:
- Windows 7/8.1/10 PC with 10 GB or more free space
- USB flash drive with 8 GB or more free space
- RUFUS (Tool for extracting the ISO file to a USB flash drive)
- Windows 7 ISO file
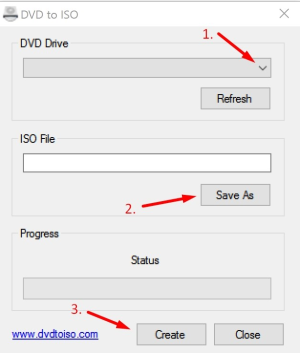
- Start the DVD to ISO programme, select your DVD and select the location where you want to save the ISO file
- Connect the USB flash drive to a USB port and start the downloaded RUFUS-Tool
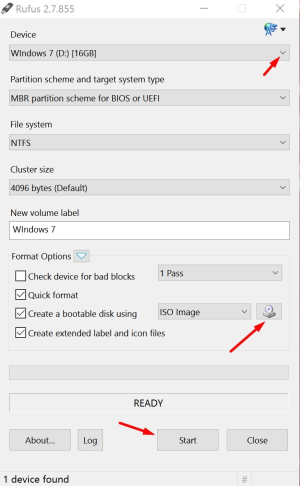
- Check, if the selected USB flash drive is the right one.
- Select the right Windows 7 ISO-File.
- Click Start and wait until the process is complete.
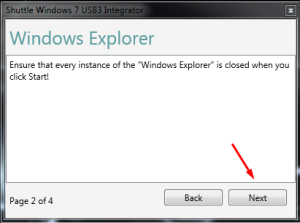
- Start the Shuttle USB-Patcher with a right-click “as Administrator” and press “Next”

- Close all instances of the Windows explorer and click “Next”
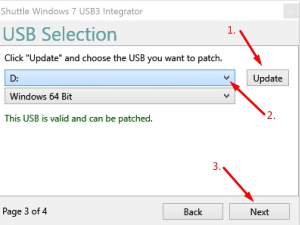
- Click the update button, choose your USB flash drive and press “Next”
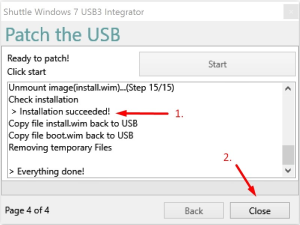
- The last step is to start the process by clicking the “Start” Button. The following process may take some time, please be patient. Once the process is finished, check if the installation has been completed successfully and close the programme.
- Now re-try to install Windows 7.
What is XS35V4/XS36V4 support operating system?
Due to the Intel chipset spec reason, the XS35V4/XS36V4 only supports Windows 8/8.1 64bit operating system.
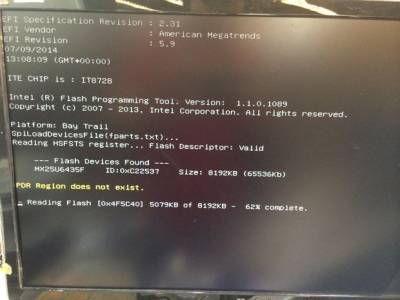
How to flash BIOS under UEFI Shell mode?
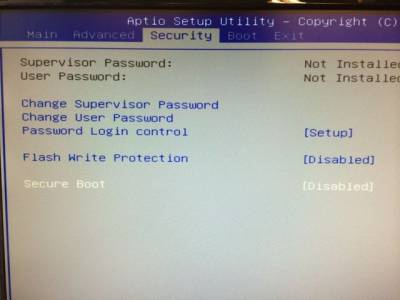
- First, please make sure you had disabled
Secure Bootfunction in the BIOS menu.
- Please extract BIOS file to your USB flash drive root directory.

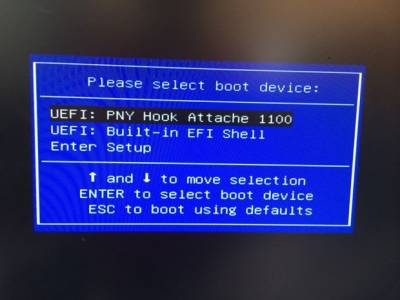
- Reboot the computer and press
F7into BBS screen and than selectUEFI: your USB flash driver device.
- The system will automatically flash BIOS.
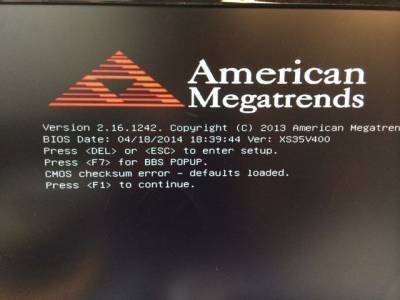
- After flash completed the computer will automatically reboot, please press
F1to continue and the pressDelinto BIOS setup menu.
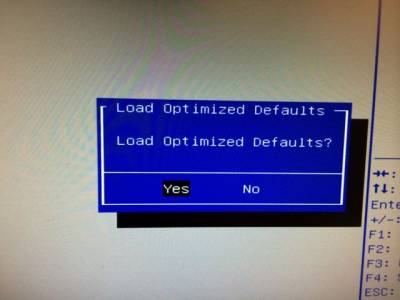
- Please use right arrow switch to
Exitpage and selectLoad Defaults Settingsoption, and than selectYesto load optimized defaults.
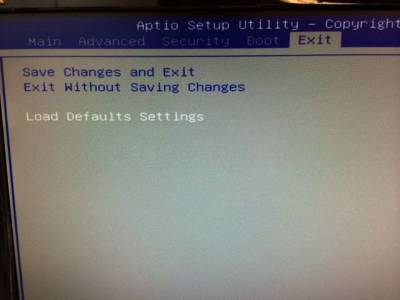
- Please select
Save Changes and Exitoption, and than selectYesto save configuration and reset
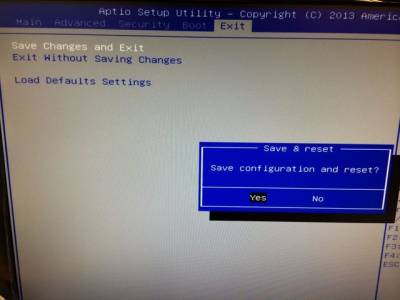
- Finished
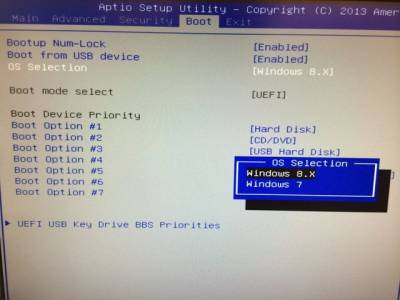
Please note if you using Windows 7 operating system, please remember change back the Windows 7 setting in the OS Selection function.